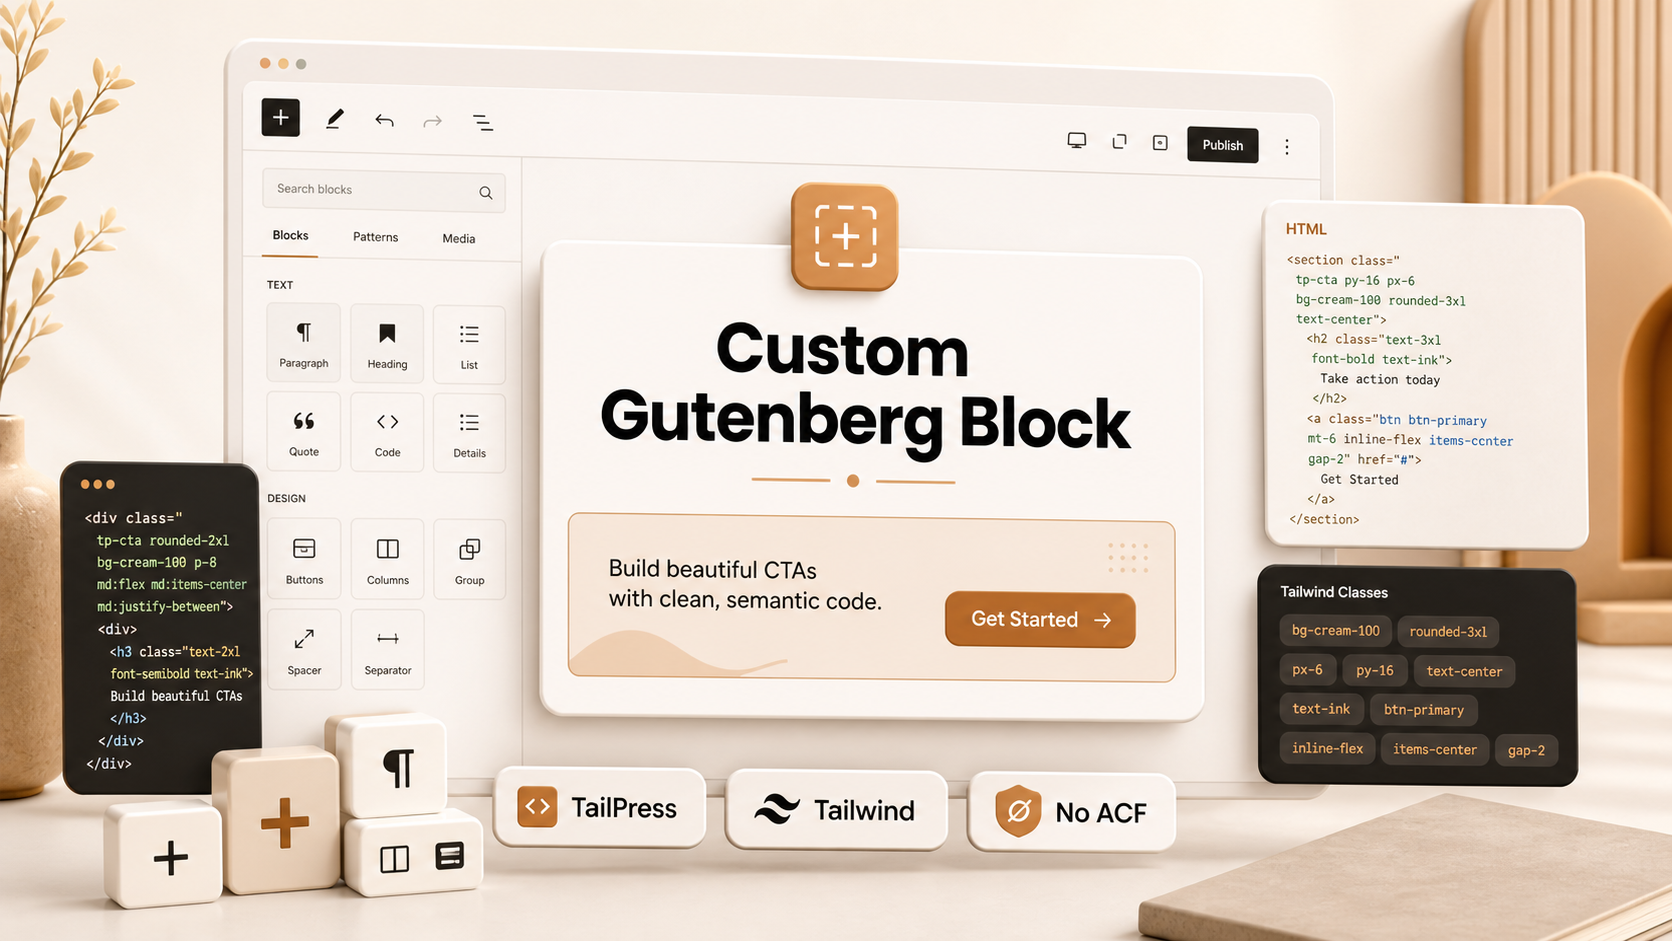
If you are building WordPress themes with TailPress, there is a good chance you already enjoy writing your layouts with Tailwind CSS. But when it comes to custom Gutenberg blocks, many developers immediately reach for ACF Pro.
ACF is excellent, especially for complex fields and client-friendly content editing. But for simple layout blocks like call-to-action sections, hero banners, feature boxes, testimonials, and alerts, you do not always need an extra plugin.
In this guide, we will build a native Gutenberg CTA block inside a TailPress theme using block.json, JavaScript, React-powered Gutenberg components, and Tailwind CSS.
No ACF. No heavy setup. Just a clean theme-based block workflow.
What We Are Building
We will create a custom CTA block that lets editors update:
- Heading text
- Short description
- Button label
- Button URL
The final block will be available directly inside the Gutenberg editor and will render Tailwind-styled HTML on the frontend.
Why Build Native Blocks?
Native Gutenberg blocks are useful when you want tighter control over your theme and fewer dependencies.
This approach works well when:
- Your block is mostly presentational
- You already use Tailwind CSS in your theme
- You want blocks stored in your codebase
- You want fewer plugin dependencies
- You want a faster, cleaner deployment flow
For complex repeaters, relationship fields, and advanced admin workflows, ACF still makes sense. But for clean design sections, native blocks can be a better fit.
How to Create Custom Gutenberg Blocks Without ACF
You can create custom Gutenberg blocks without ACF by registering a
native WordPress block with `block.json`, building the editor interface
with Gutenberg's JavaScript components, and registering the block in
your theme or plugin.
In a TailPress project, Tailwind CSS can then be used for both the
editor and frontend styling. This keeps the block inside your codebase
and removes the need for ACF Pro for simple content and layout blocks.
In this tutorial, we'll use that native approach to build a reusable
CTA block step by step.
Step 1: Create a Blocks Folder
Inside your TailPress theme, create a folder for custom blocks:
mkdir -p resources/blocks/ctaYour structure will look like this:
resources/ blocks/ cta/ block.json index.js edit.js save.jsYou can create more blocks later using the same pattern.
Step 2: Add the Block Metadata
Create this file:
resources/blocks/cta/block.jsonAdd the following:
{ "apiVersion": 3, "name": "webixyhub/cta", "title": "CTA Section", "category": "design", "icon": "megaphone", "description": "A simple call-to-action section with heading, text, and button.", "keywords": ["cta", "button", "section"], "supports": { "align": ["wide", "full"], "anchor": true }, "attributes": { "heading": { "type": "string", "source": "html", "selector": "h2" }, "text": { "type": "string", "source": "html", "selector": "p" }, "buttonText": { "type": "string", "default": "Get Started" }, "buttonUrl": { "type": "string", "default": "#" } }, "editorScript": "webixyhub-cta-block"}The important part here is the name and editorScript.
The block name must be unique. A good format is:
namespace/block-nameFor example:
webixyhub/ctaStep 3: Register Blocks in PHP
Now open your theme’s functions.php file and register the block.
function webixyhub_register_theme_blocks() { $block_dir = get_stylesheet_directory() . '/resources/blocks/cta'; $script_path = get_stylesheet_directory() . '/blocks/cta.js'; if ( ! file_exists( $block_dir . '/block.json' ) || ! file_exists( $script_path ) ) { return; } wp_register_script( 'webixyhub-cta-block', get_stylesheet_directory_uri() . '/blocks/cta.js', array( 'wp-blocks', 'wp-element', 'wp-i18n', 'wp-block-editor', 'wp-components' ), filemtime( $script_path ), true ); register_block_type( $block_dir );}add_action( 'init', 'webixyhub_register_theme_blocks' );This tells WordPress to read your block.json file and load the compiled JavaScript file for the editor.
Step 4: Create the Edit Component
Create:
resources/blocks/cta/edit.jsAdd this code:
import { __ } from '@wordpress/i18n';import { useBlockProps, RichText, URLInputButton} from '@wordpress/block-editor';import { TextControl } from '@wordpress/components';export default function Edit({ attributes, setAttributes }) { const { heading, text, buttonText, buttonUrl } = attributes; const blockProps = useBlockProps({ className: 'bg-slate-950 text-white px-6 py-14 rounded-lg text-center' }); return ( <section {...blockProps}> <div className="mx-auto max-w-3xl"> <RichText tagName="h2" className="text-3xl font-bold" placeholder={__('Add CTA heading...', 'webixyhub')} value={heading} onChange={(value) => setAttributes({ heading: value })} /> <RichText tagName="p" className="mt-4 text-base text-slate-300" placeholder={__('Add short description...', 'webixyhub')} value={text} onChange={(value) => setAttributes({ text: value })} /> <div className="mt-6 flex flex-col items-center gap-3"> <TextControl label={__('Button Text', 'webixyhub')} value={buttonText} onChange={(value) => setAttributes({ buttonText: value })} /> <URLInputButton url={buttonUrl} onChange={(value) => setAttributes({ buttonUrl: value })} /> </div> <div className="mt-6 inline-flex rounded-md bg-white px-5 py-3 text-sm font-semibold text-slate-950"> {buttonText || __('Button Text', 'webixyhub')} </div> </div> </section> );}This is what the editor will display inside Gutenberg.
We are using:
useBlockProps()for proper block wrapper behaviorRichTextfor editable heading and paragraph contentTextControlfor button labelURLInputButtonfor button link
Step 5: Create the Save Component
Create:
resources/blocks/cta/save.jsAdd this:
import { useBlockProps, RichText } from '@wordpress/block-editor';export default function Save({ attributes }) { const { heading, text, buttonText, buttonUrl } = attributes; const blockProps = useBlockProps.save({ className: 'bg-slate-950 text-white px-6 py-14 rounded-lg text-center' }); return ( <section {...blockProps}> <div className="mx-auto max-w-3xl"> <RichText.Content tagName="h2" className="text-3xl font-bold" value={heading} /> <RichText.Content tagName="p" className="mt-4 text-base text-slate-300" value={text} /> {buttonText && ( <a href={buttonUrl || '#'} className="mt-6 inline-flex rounded-md bg-white px-5 py-3 text-sm font-semibold text-slate-950 hover:bg-slate-200" > {buttonText} </a> )} </div> </section> );}The save file controls the HTML that gets stored and rendered on the frontend.
Step 6: Register the Block in JavaScript
Create:
resources/blocks/cta/index.jsAdd:
import { registerBlockType } from '@wordpress/blocks';import Edit from './edit';import Save from './save';registerBlockType('webixyhub/cta', { edit: Edit, save: Save});Make sure the block name here matches the name inside block.json.
Step 7: Compile the Block JavaScript
If your TailPress setup uses Laravel Mix, add a separate build entry in webpack.mix.js:
mix.js('resources/blocks/cta/index.js', 'blocks/cta.js');If you want to auto-compile multiple blocks later, you can set up a glob-based workflow, but for one block this is enough and easier to understand.
Now run:
npm run watchOr for production:
npm run productionAfter the build, you should have:
blocks/cta.jsStep 8: Add Tailwind Content Paths
Make sure Tailwind scans your block files.
In tailwind.config.js, include:
content: [ './**/*.php', './resources/**/*.js', './resources/blocks/**/*.{js,jsx}']Without this, Tailwind may remove the classes used inside your block files during production builds.
Step 9: Test in WordPress
Now go to your WordPress admin:
- Open any page or post.
- Click the block inserter.
- Search for “CTA Section”.
- Add the block.
- Edit the heading, text, and button.
- Publish the page.
If everything is connected correctly, your custom CTA block should appear in the editor and render on the frontend with Tailwind styling.
Common Issues
Block Is Not Showing
Check these things:
- Your theme is active
block.jsonexists- The block name matches in
block.jsonandindex.js - The script handle matches
editorScript - The compiled file exists in
blocks/cta.js
Tailwind Styles Are Missing
Usually this means Tailwind is not scanning your block files.
Check your tailwind.config.js content paths and rebuild your CSS.
JavaScript Error in Editor
Open the browser console and check the exact error. Most issues come from a wrong import, missing dependency, or mismatch between the registered block name and metadata.
When Should You Still Use ACF?
Use ACF when your block needs:
- Repeaters
- Complex conditional fields
- Relationship fields
- Client-friendly admin field controls
- Dynamic PHP-heavy rendering
But if your block is mostly layout and content, native Gutenberg blocks can keep your theme lighter and more maintainable.
Final Thoughts
Building custom Gutenberg blocks inside TailPress without ACF gives you a cleaner WordPress development workflow. Your blocks stay inside the theme, your styling stays in Tailwind, and your editor experience feels native.
For simple sections like CTAs, heroes, feature grids, pricing boxes, and testimonials, this approach is fast, flexible, and easy to maintain.
Once you understand this pattern, you can reuse it for almost any design block in your WordPress theme.